Unless you have been living in a cave for the past month, you are aware that the Covid-19 pandemic goes hand-in-hand with a shortage of protective masks. Fair enough, we have seen on Instagram a slew of more of less feasible DIY tutorials to make your own mask at home. Of course, this is in no way a certified medical device, but rather a first protection to avoid hand/mouth contacts, as well as saliva projections of the famous “drops” capable of spreading the virus.
Even if a sewing machine would be a quicker method, you don’t necessarily have to be equipped with pro material! You just need old cotton t-shirts, a thread and needle, scissors and a little motivation. If you have the energy, don’t hesitate to produce several masks: at least two for yourself (a mask should not be worn more than a few hours, in order to remain hygienic and must be washed in machine at 60°C) —and why not for your family, friends and nearby shopkeepers. It’s your turn to help your neighbour! Karma will bounce back!
Choose nice fabrics
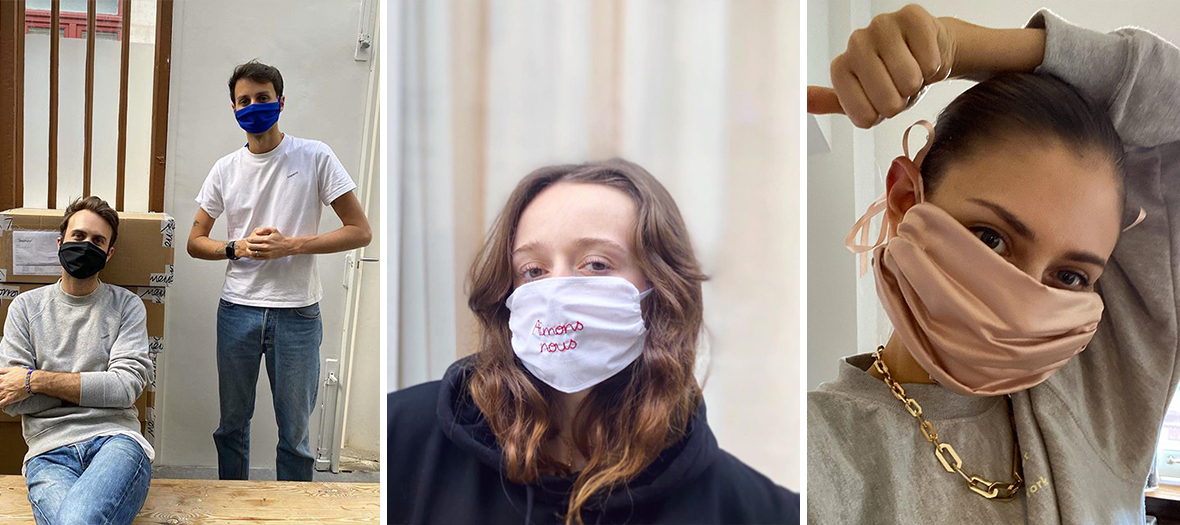
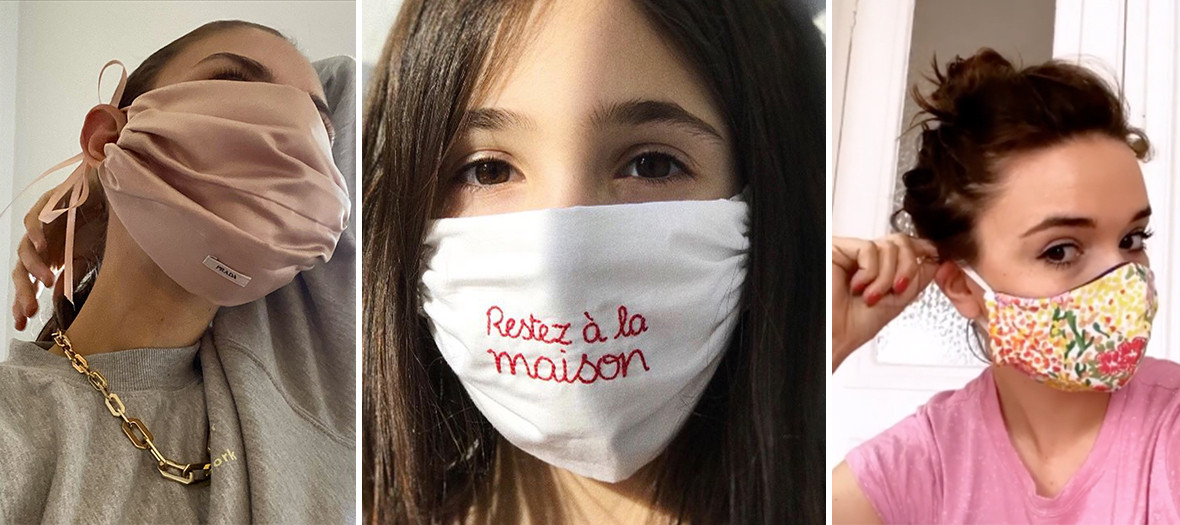
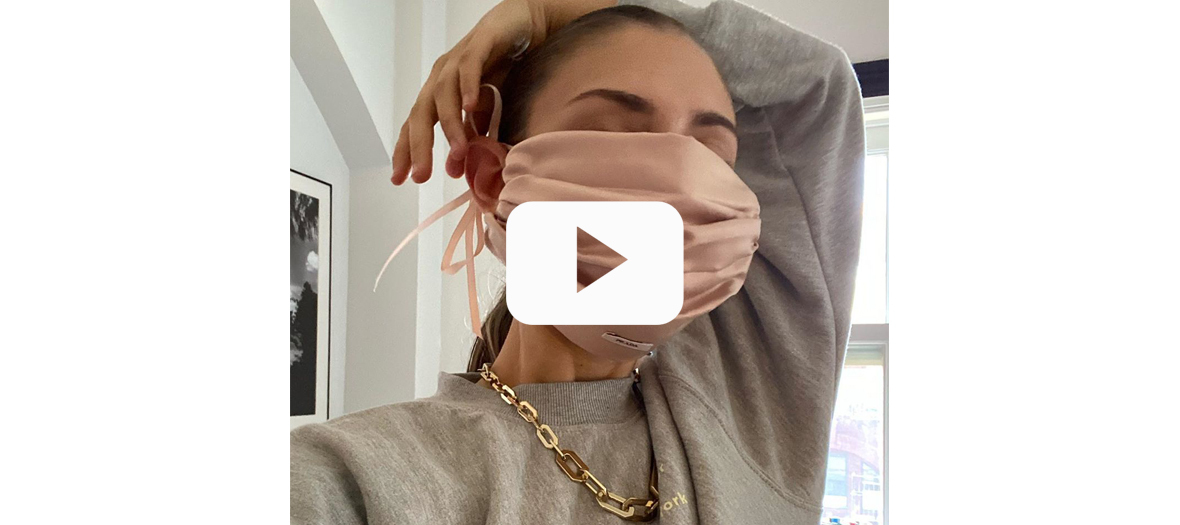
Why not turn this simply practical object into a fashion accessory? Many of the most sexy designers of the moment have shared their very simple DIY models on line. While Coperni delivers a classic version, close to surgical models, Henriette H imagined it embroidered like her panties and New Yorker Jenny Walton uses her Prada shoe dust bags to create a labelled and satiny object. Rummage in your drawers, you will surely find old t-shirts in thick cotton, tablecloths, curtains and sheets with pretty prints. Overlap as many layers as possible—from the thinnest to the thickest— ending with the most stylish. We bet that the prettier it looks, the more you will wear it?
The good tutorial in 12 steps
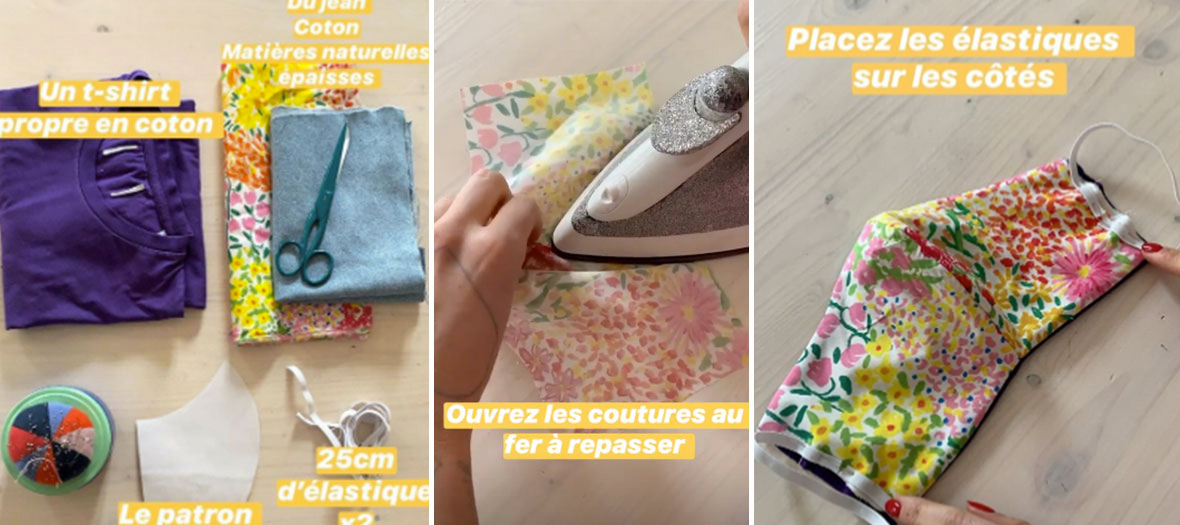
Wagering on the practical side, the Make My Lemonade label of Lisa Gachet placed as top story and on her site a very simple tutorial for sewing dummies This is the one we have chosen to present you today, along with the pattern. But first of all: you mush wash your hands and use only previously washed fabrics — obviously.
1/ Cut your paper pattern. Place it on your washed and ironed fabric. Pin it and add 1cm sewing values all around, except on the small side where the value should be of 2.5cm.
2/ Cut your different layer of thickness. The thinnest one will be against the mouth, and the layers must overlap from the thinnest to the thickest, which will be on the outside.
3/ Use 2 pieces each time, and overlap them face to face. Pin the large curb, then sew a 1cm seam. Once your seam is finished, you can reduce it to 0,5cm so it is less thick.
4/ Iron the seams while opening them up so there is less thickness.
5/ When all your layers are ready, overlap the lining fabric and the quilting, reverse side of the lining against face side of the quilting. Set aside the outdoor fabric for the time being.
6/ Pin the two large sides. Create a zigzag to maintain the different thicknesses.
7/ Then overlap your work, face to face with your exterior fabric. Pin, like in step 6 the large sides at 1cm. You can reduce it with scissors up to 0,5cm.
8/ Turn it over with one of the small sides.
9/ Iron your mask properly. Measure 2 elastic strips (or two bias or ribbons, depending what you have at home).
10/ Option 1: you know your value well, you overlap the two free sides and you sew a zigzag seam to maintain it.
11/ Option 2: the mask is for someone around you or you are not sure of the value—tie a knot at the end.
12/ If you have chosen option 1, fold over the elastic on the small side, 2x1cm, then pin it and stitch on the edge of the fold. If you chose option 2, fold over 2x1cm without the elastic, stitch and insert the elastic in the tunnel with a safety pin.
Your mask is finished!
The good idea
Since the purpose to block saliva projections is to accumulate layers, add an additional screen under your fabric mask with a model made with paper napkins, thicker than plain hankies. It will absorb all the projections and can be thrown out as soon as it shows signs of humidity. Which obviously does not prevent you from washing the mask in fabric!
Supplies: a paper napkin, two kitchen elastics and a stapler. 2 minutes flat, the proof in images with Professor Garin and his model validated by the National Academy of Medicine.
